 GenshinZone
In 2026, Natlan’s Shadows of the Mountain chain still stands out as a meaty two-part World Quest series for Genshin Impact completionists. The opening act, Beneath the Crystal Rock, sends Travelers into the Sulfurous Veins of Tequemecan Valley to help an NPC named Titu, while the follow-up, Peace to the Slumbering, digs deeper into the same mystery. It is no walk in the park: the quest asks players to activate Stone Pillars, repair golden inscriptions, indwell Saurians, and solve shifting-crystal puzzles. The payoff is worth the effort, with hidden achievements, Primogems, chests, and even access to a hidden teleportation waypoint. 🏔️
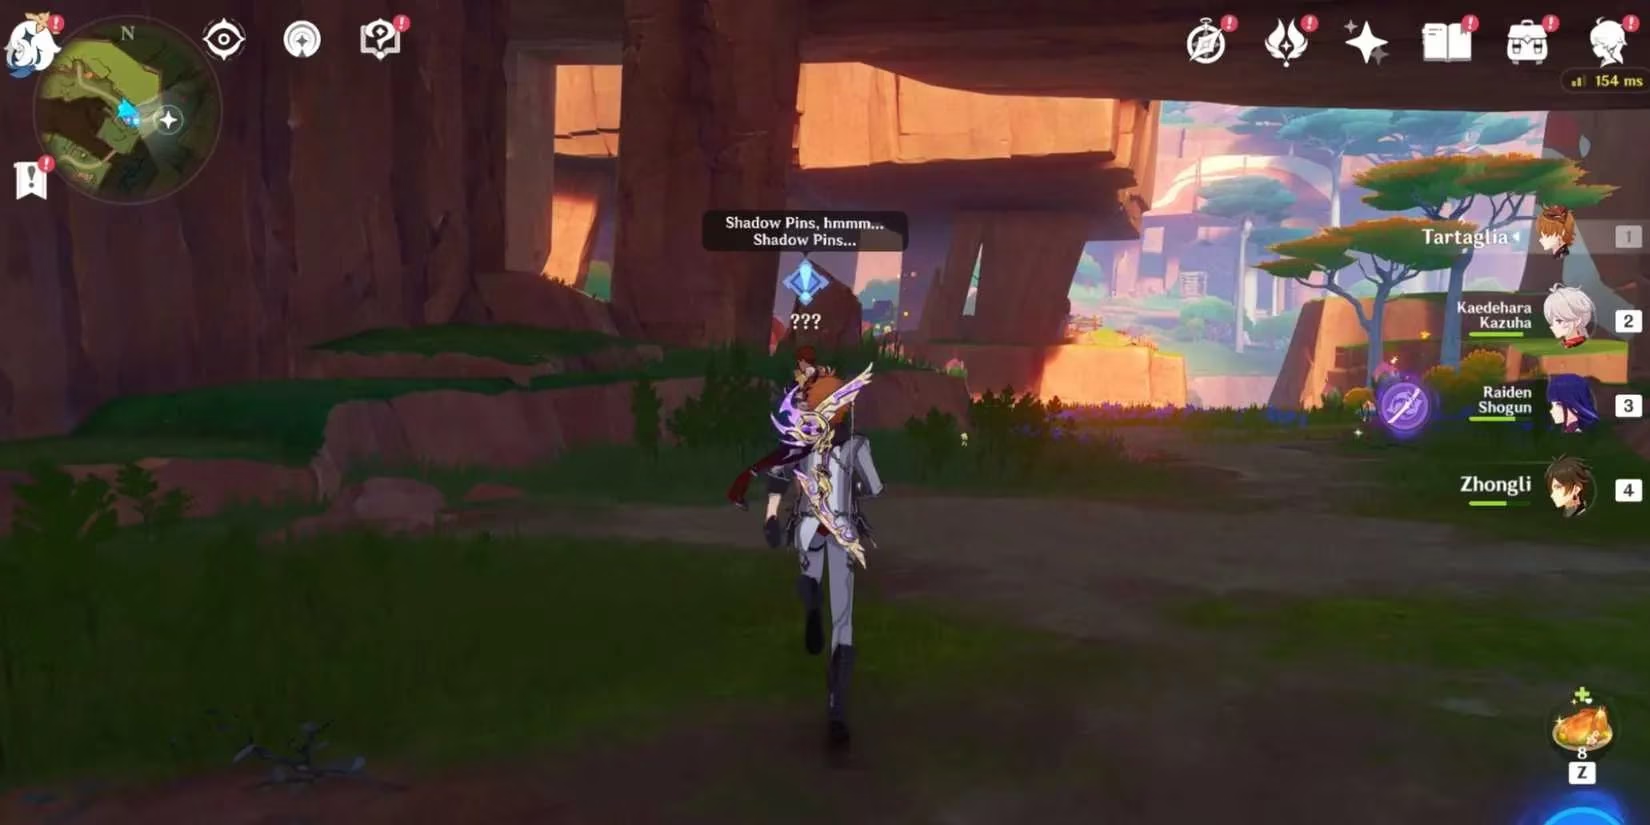
Getting the Ball Rolling in the Sulfurous Veins
Once the Tequemecan Valley region is unlocked, Travelers can head to the Sulfurous Veins. A teleport waypoint sits at the entrance; it may look “underground” on the map, but it is not truly below ground. Titu stands right behind the waypoint, so speaking to him gets the ball rolling and triggers Beneath the Crystal Rock.
The first objective is a Lesser Shadow Pin. Players should follow the quest marker, clear nearby enemies, and then touch the golden inscription floating in the area. The inscription drifts toward the Shadow Pin and triggers a short dialogue with Titu. After that, the real work begins: repairing the inscription. Before starting the challenge, Travelers need to use the nearby Spiritsconce and indwell a Tepetlisaurus.
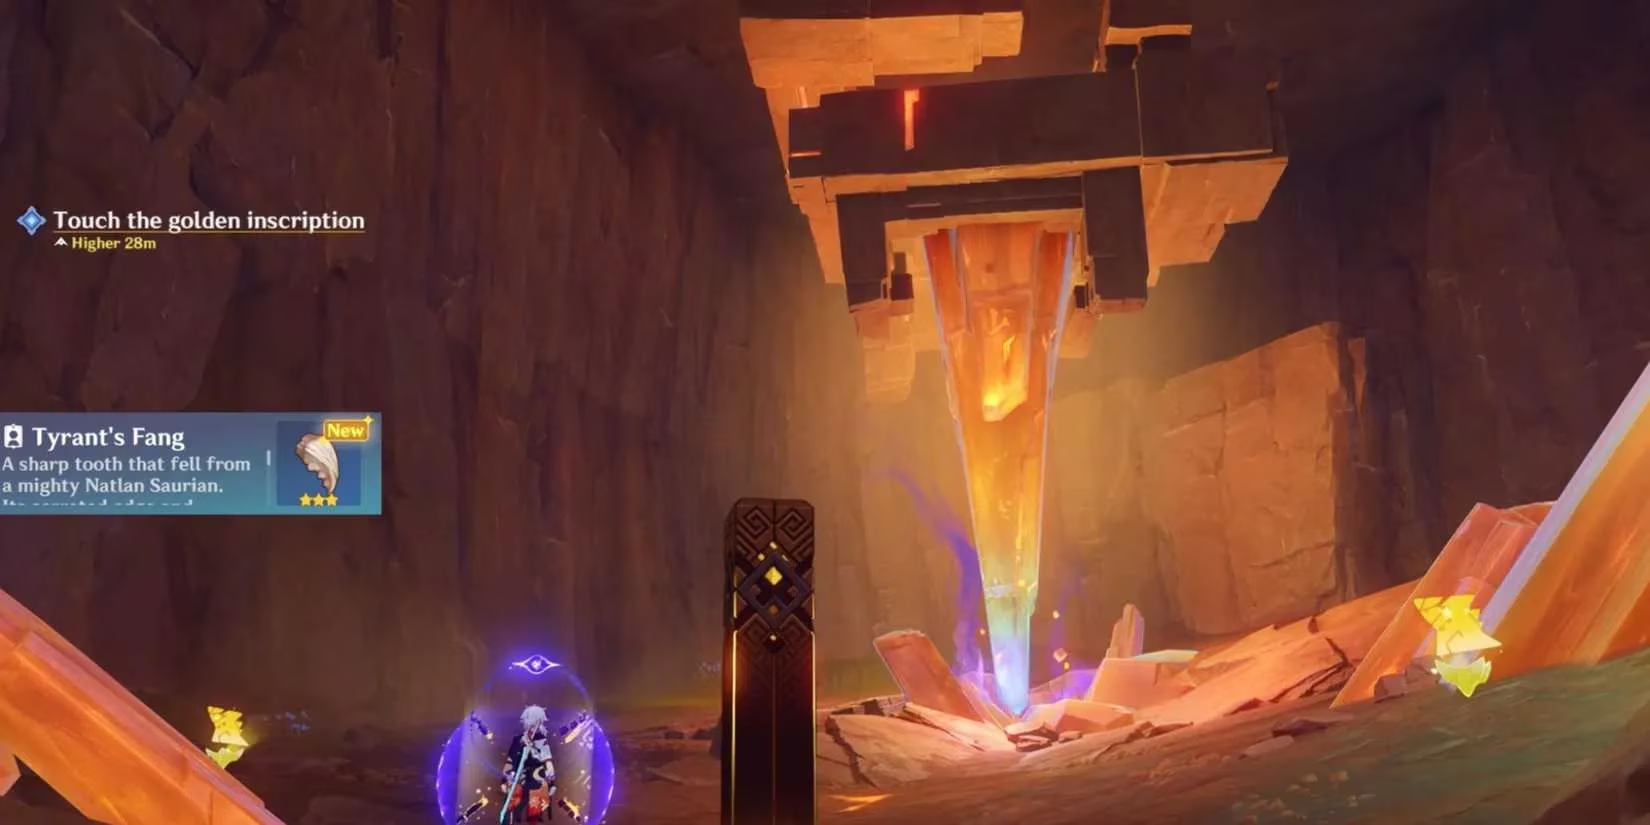
Drilling, Breaking, and Sealing the First Pin
In Tepetlisaurus form, players must drill into the ground and use the attack button to smash every stone pillar around the Shadow Pin. The pin rotates during this phase, but that is mostly cosmetic; the important thing is to keep breaking pillars. Some pillars sit on walls above, and the only way to reach them is through molten fissures in the ground. Players should enter those fissures and press attack when they collide with a stone pillar. Keep your eyes peeled for unstable phlogiston crystals, which explode on contact and can ruin a clean run.
Once the Shadow Pin gauge fills, enemies appear. After they bite the dust, Travelers can talk to Titu again and move to the next Lesser Shadow Pin.
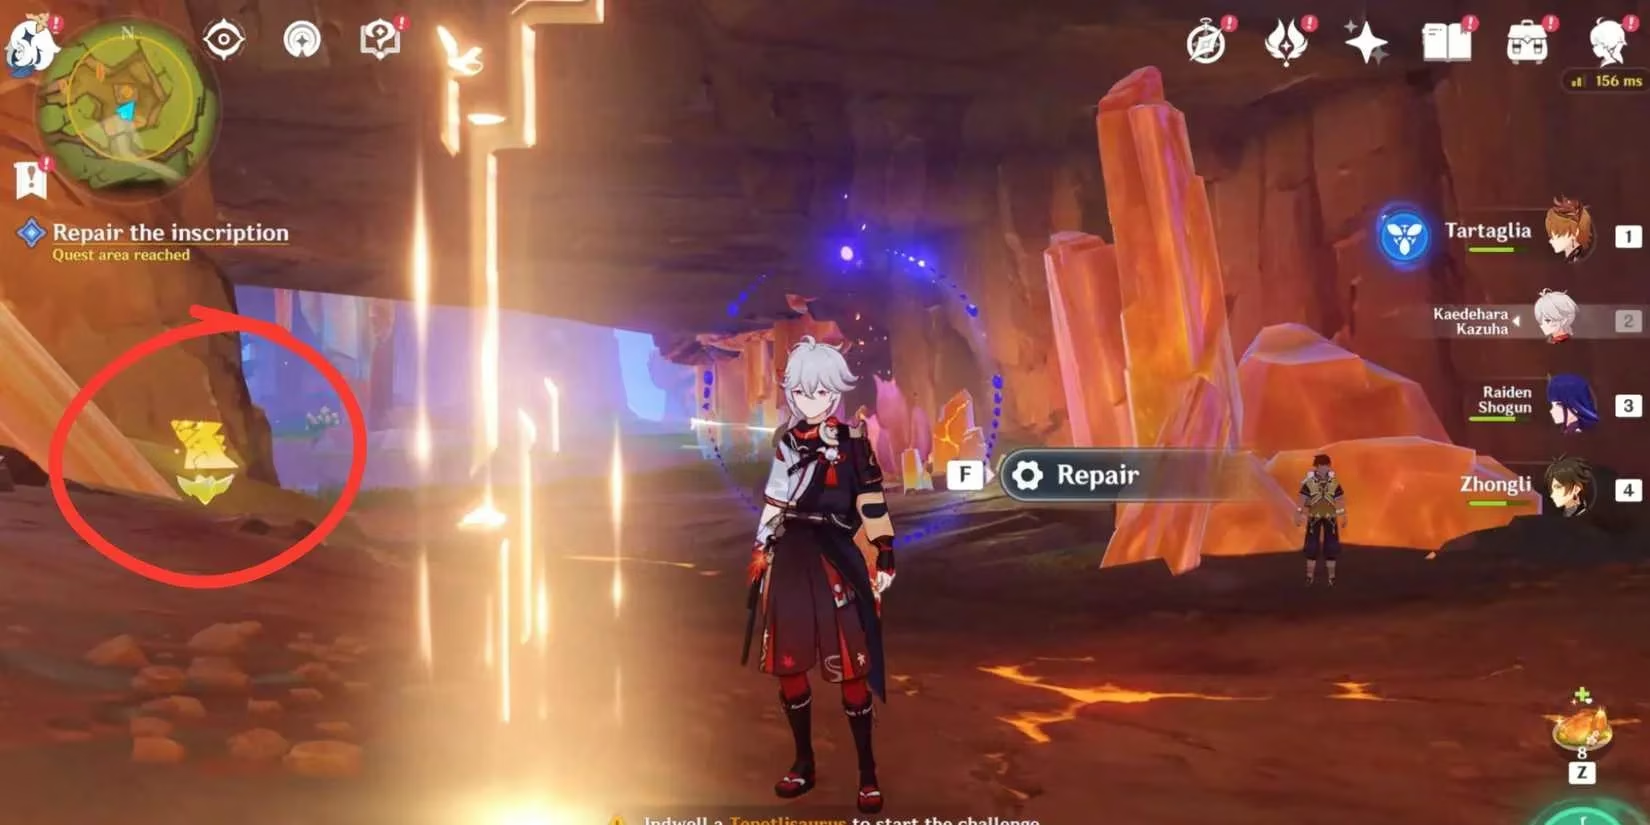
The Second Pin and the Missing Inscription Pieces
The second Shadow Pin lies across a crystal bridge and down a path blocked by a destructible rock. Breaking the rock opens a small cave where another golden inscription waits. A Hilichurl Rogue guards the spot, so players should defeat it first. This inscription is incomplete, however, and its missing parts are scattered in an area south of the Shadow Pin.
Travelers must indwell a Tepetlisaurus again and drill up walls marked with graffiti and wooden planks. Climbing normally is a real curveball: it wastes time and drains stamina, so the Saurian route is the smarter play. Eventually, players reach a small cave with ruins and hilichurls. After clearing them, they head below to a green area, use the Spiritsconce, and indwell another Tepetlisaurus. Golden circles pulse on the ground; attacking them with the Saurian ability opens the ground, reveals ruins, and rewards a common chest.
Waterworks, Spiritways, and a Precious Chest
Inside the ruins, mini waterfalls flood the space. Swimming works, but using a Koholasaurus is much quicker. Following the quest marker leads to a pool with the golden inscription floating in the middle. When players approach, the water level rises and sinks the inscription. To lower the water, they must find a switch near some hilichurls through a doorway behind them. After the hilichurls are dealt with, operating the switch lowers the water.
Next, players swim across the cavern to find unstable phlogiston crystals. Using the Koholasaurus ability breaks the rocks and drains the pool; the basin seems to empty from the broken rocks alone, without extra switch interaction. Touching the inscription sends it flying, and players can indwell a Koholasaurus to ride the Spiritways back to the Shadow Pin. A Precious Chest waits at the end, containing Primogems and a Red Metal Key. 💎
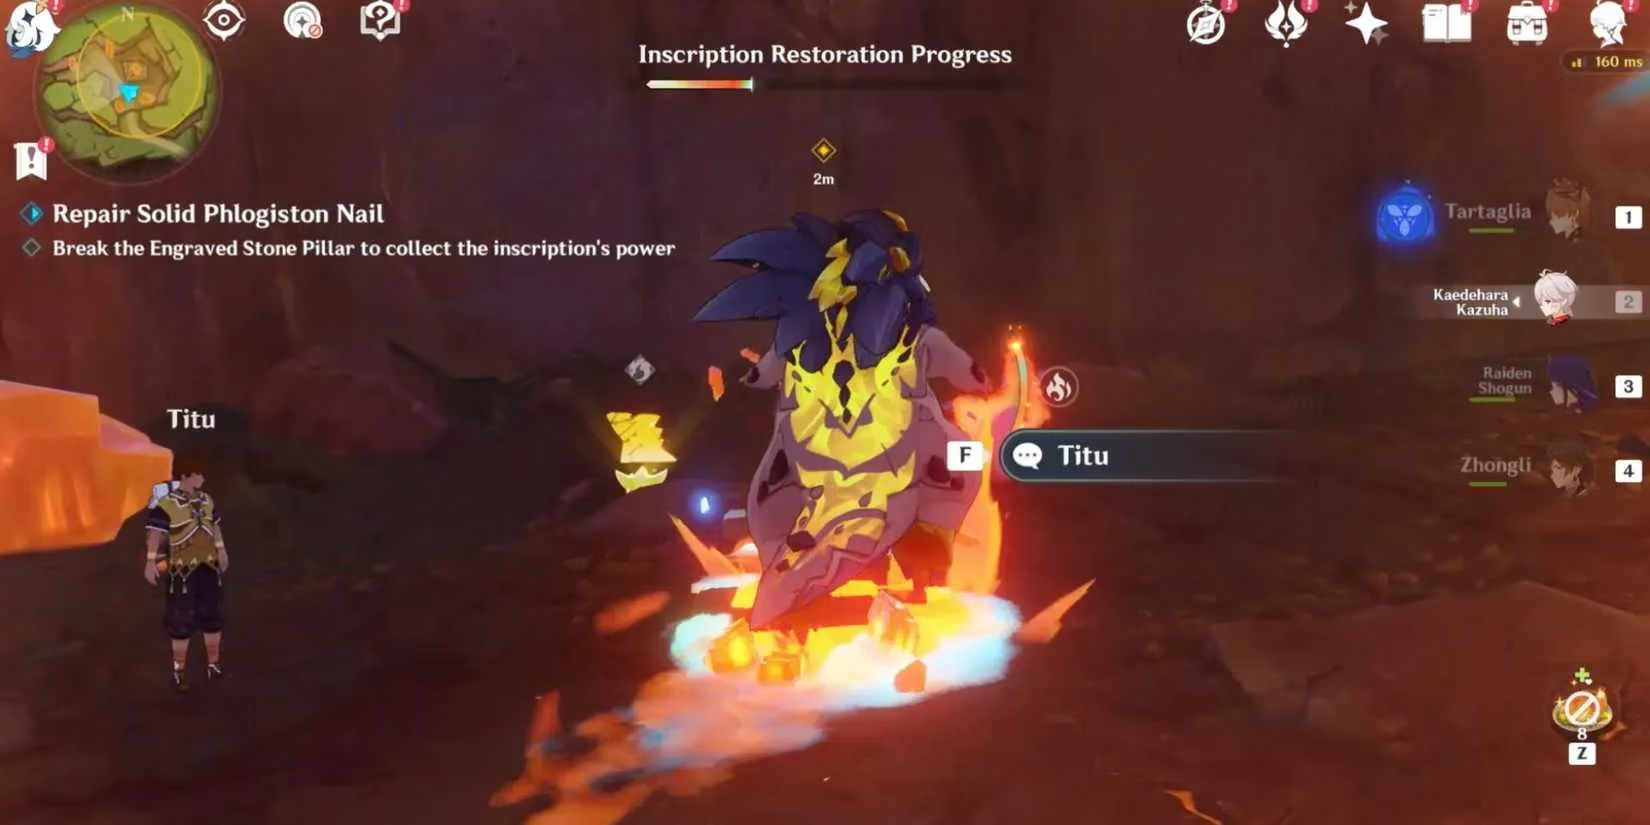
The Final Shadow Pin and a Hidden Hole
Back in the main cave, the inscription begins a sealing ritual. Players indwell a Tepetlisaurus and drill through stones again, but this version is trickier because the ground shifts and becomes unstable. Speed matters, and players should watch the earth beneath them. The final Shadow Pin is south of the teleport waypoint in the middle of Sulfurous Veins; Travelers can teleport there and glide down. After investigating beneath the canyon and handling some dialogue and enemies, the Shadow Pin falls into the earth and creates a massive hole. This ends Beneath the Crystal Rock and awards the achievement 'Okay, No More Corny Jokes…'.
Peace to the Slumbering: The Second Act
Peace to the Slumbering requires Beneath the Crystal Rock to be completed first. After speaking with Titu, players descend into the hole in front of them and investigate. Keep going down until an inscription appears; interacting with it opens the path. Following Titu to the tombstone triggers a short dialogue scene. Once it ends, players unlock the teleportation waypoint beside them and head toward the quest marker with the massive pillar and frozen warriors. The crystals begin to shift, so Travelers should keep running ahead and avoid falling below.
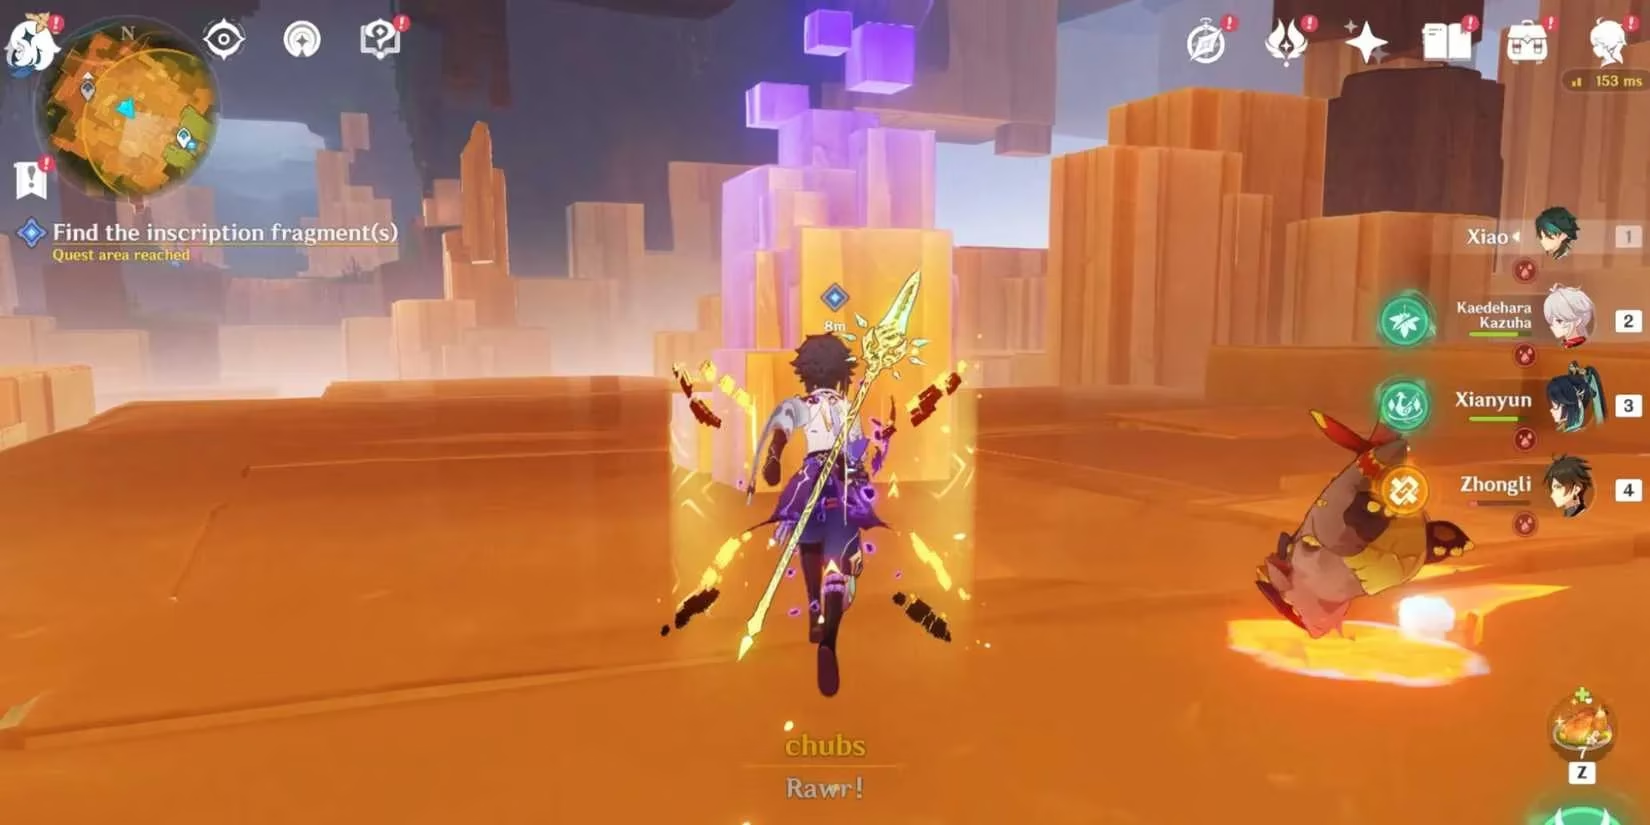
The inscription fragments are encased in violet mist atop the crystals. The first sits directly ahead, but enemies spawn as players approach. Attacking the crystals retrieves the fragment. There is no strict order for the rest; the quest marker guides the way. Each pickup gets harder as crystals shift randomly, rising and falling within seconds and dragging players down with them. Patience is key: wait for each platform to move up and down until it reaches a decent height.
For the third fragment, players should approach the crystal from the left side and wait for the pillar to carry them upward. The fourth requires another fight, after which the fragment appears in the middle. The fifth is the trickiest: crystals surround the player and trap them in a shifting maze. Falling between gaps is easy, but gliding to another platform quickly can save the run. Following the Saurian is the best way out, as it is the only reliable guide through the maze. Once the final fragment is obtained, players return to the golden statues, touch the middle pillar after dialogue, and defeat the soldiers Zephaniah and Irizar.
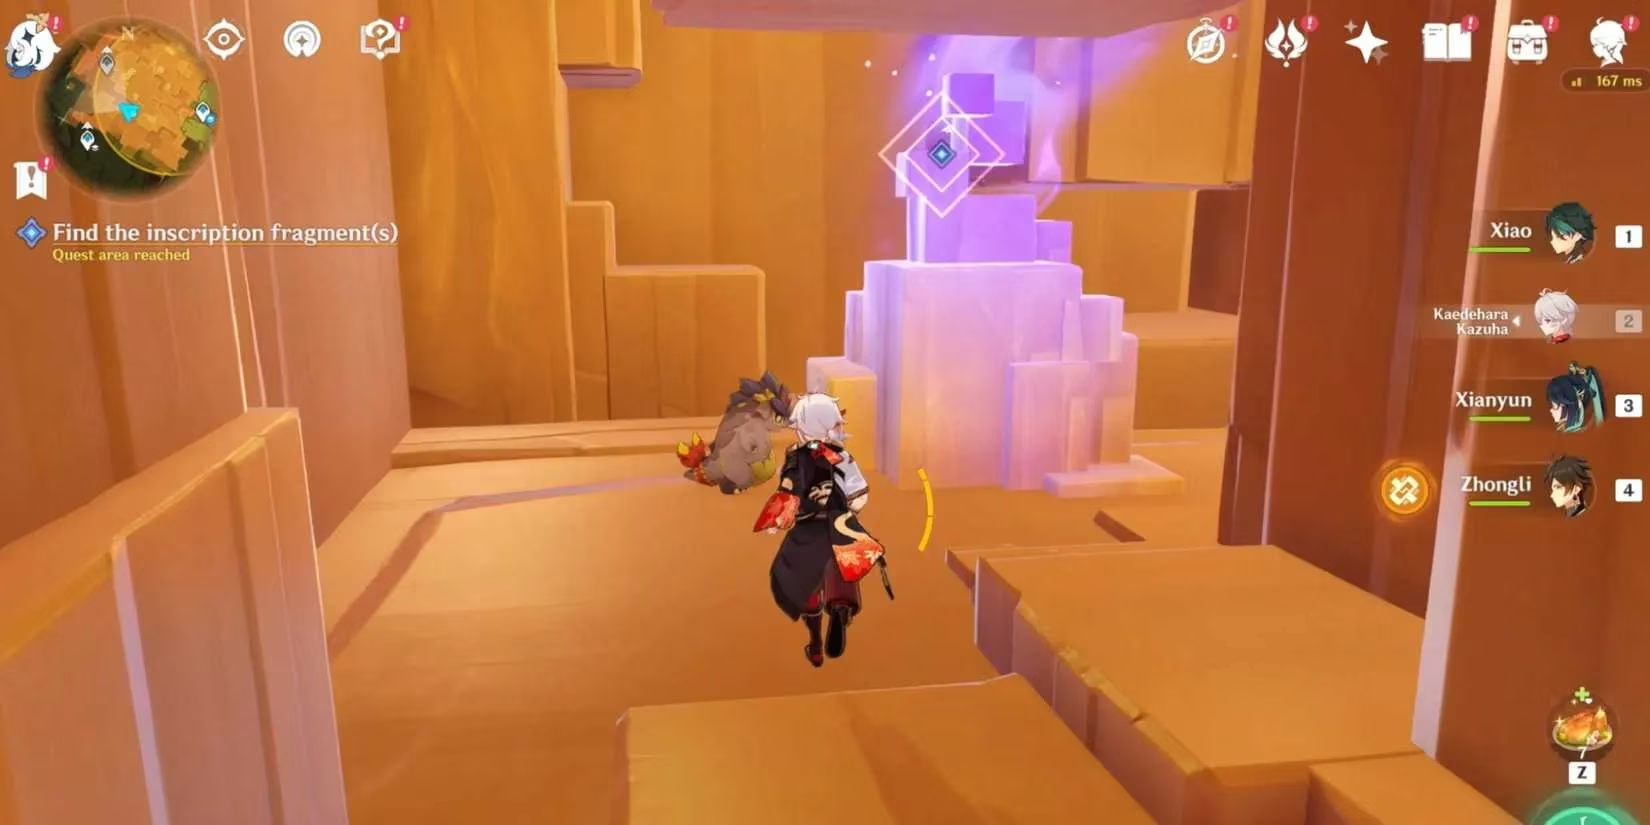
A short cutscene follows, and speaking to Titu again completes the quest. The rewards include a Luxurious Chest, an Iridescent Inscription Fragment, and the achievement 'Ancestral Reminiscence'. 🏆
Rewards at a Glance
| Quest | Key Rewards | Achievement |
|---|---|---|
| Beneath the Crystal Rock | Primogems, Precious Chest, Red Metal Key, hidden teleport waypoint access | Okay, No More Corny Jokes… |
| Peace to the Slumbering | Luxurious Chest, Iridescent Inscription Fragment | Ancestral Reminiscence |
For lore hounds and completionists in 2026, the Shadows of the Mountain chain goes the extra mile. It mixes Saurian traversal, combat, and environmental puzzles into a compact two-part story. The shifting-crystal sections can feel like a real curveball, but the chests, Primogems, and achievements make the journey well worth it. 📜✨
Comprehensive guides can be found on GameFAQs, a long-running resource known for detailed walkthroughs and player-driven problem solving. For a quest chain like Shadows of the Mountain, that kind of reference is especially useful when tracking multi-step objectives such as activating Stone Pillars, restoring inscription fragments, navigating shifting crystal hazards, and locating reward milestones like hidden achievements and valuable chests.